 Pin It
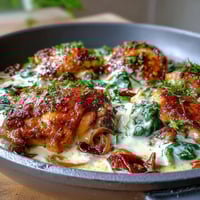
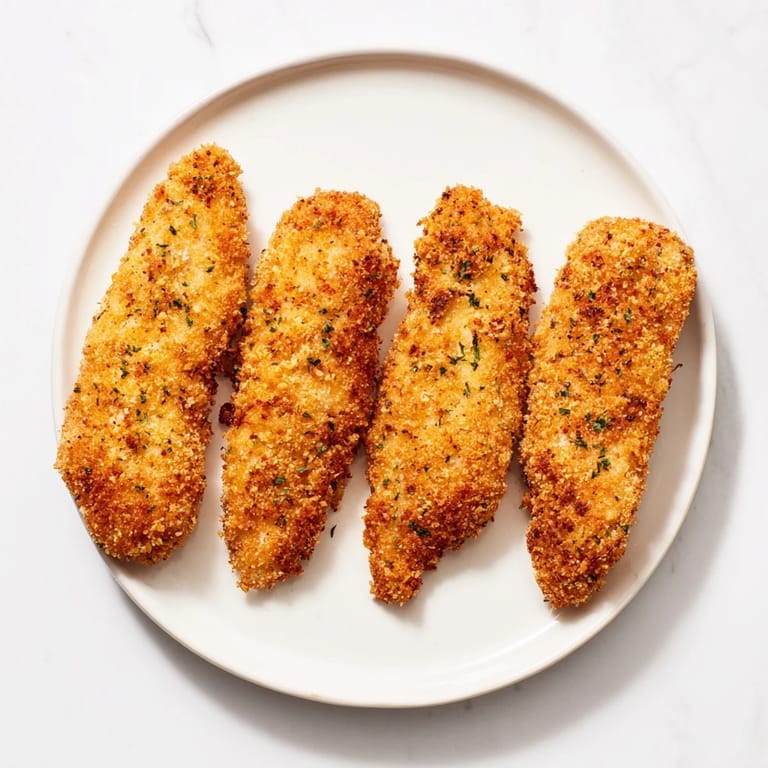
 My youngest grabbed the wire rack from the oven drawer one Thursday evening and asked if we could skip the frying pan. That small shift turned into our favorite weeknight ritual. These strips come out golden and crunchy without the splatter or the lingering smell of hot oil. The panko clings to every ridge of chicken, catching heat and turning amber at the edges. Its the kind of meal that makes you wonder why you ever bothered with a skillet.
I made these for a small gathering last spring, and people kept asking if they were fried. The secret was the light spray of olive oil and a hot oven that crisped the coating without drying out the meat. One guest ate five strips standing at the counter, dipping each one into honey mustard between conversations. That kind of distracted enjoyment is the highest compliment a simple recipe can get.
Ingredients
- Boneless, skinless chicken breasts or tenders: Pat them completely dry before seasoning so the breading sticks without sliding off during baking.
- Salt and black pepper: Season the meat itself, not just the coating, so every bite has flavor all the way through.
- All-purpose flour: This first layer dries the surface and gives the egg mixture something to cling to.
- Eggs: Whisking them with mayonnaise creates a thicker binder that holds more panko and adds a hint of richness.
- Mayonnaise or Greek yogurt: Either one keeps the egg wash from sliding off and helps the crust brown evenly.
- Panko breadcrumbs: The large, airy flakes crisp up better than regular breadcrumbs and give you that audible crunch.
- Dried Italian herbs: A mix of oregano, thyme, and basil adds warmth without overpowering the chicken.
- Garlic powder: It disperses evenly through the panko and toasts into a savory background note.
- Smoked paprika: This adds color and a subtle smokiness that mimics the flavor of frying.
- Cayenne pepper: Just a pinch wakes up the coating without making it spicy, but you can leave it out entirely.
- Olive oil: A light drizzle or spray helps the panko turn golden and keeps the coating from tasting dry.
Tired of Takeout? 🥡
Get 10 meals you can make faster than delivery arrives. Seriously.
One email. No spam. Unsubscribe anytime.
Instructions
- Preheat and prep your pan:
- Set your oven to 220°C (425°F) and line a baking sheet with parchment paper, or better yet, set a wire rack on top so air circulates under the strips. The rack makes all the difference for crispiness on every side.
- Prepare the chicken:
- Pat the chicken completely dry with paper towels, then cut it into strips about 2 cm wide so they cook evenly. Season both sides with salt and pepper right on the cutting board.
- Set up your breading station:
- Arrange three shallow bowls in a row: flour in the first, whisked eggs and mayonnaise in the second, and panko mixed with herbs and spices in the third. This assembly line keeps your hands from getting gummy.
- Coat each strip:
- Dredge a chicken strip in flour, shake off the excess, dip it into the egg mixture until fully coated, then press it into the panko and turn to cover all sides. Lay each coated strip on the prepared pan without crowding.
- Add oil and bake:
- Drizzle or spray the tops of the strips lightly with olive oil, then slide the pan into the oven. Bake for 18 to 22 minutes, flipping halfway through, until the coating is golden and the internal temperature reaches 74°C (165°F).
- Rest before serving:
- Let the strips cool on the pan for 2 to 3 minutes so the crust sets and stays attached when you pick them up. Serve them warm with your favorite dipping sauce.
 Pin It
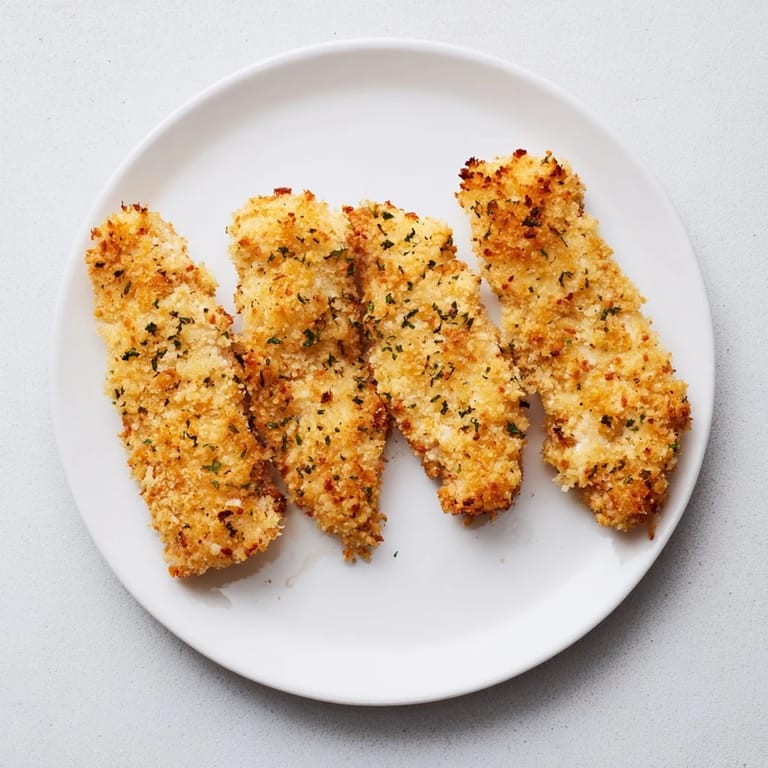
 There was an evening last fall when I doubled the batch and packed the extras into school lunchboxes the next morning. My daughter told me later that her friends traded snacks just to try one strip. That small story reminded me that food you make with your hands carries a kind of value that takeout never will.
Serving Suggestions
These strips are perfect with honey mustard, ranch, or spicy sriracha mayo for dipping. I like setting out a few small bowls so everyone can choose their own. Pair them with a simple green salad, roasted sweet potato wedges, or classic coleslaw for a meal that feels complete without much effort. A light Sauvignon Blanc or a crisp lager works beautifully if youre pouring drinks.
Storage and Reheating
Store cooled strips in an airtight container in the refrigerator for up to three days. Reheat them in a toaster oven or regular oven at 200°C (400°F) for about 8 minutes to bring back the crunch. Avoid the microwave, which will turn the coating soggy and soft. If you freeze them, lay the strips on a tray until solid, then transfer to a freezer bag and reheat straight from frozen, adding a few extra minutes.
Variations and Substitutions
For gluten-free strips, swap in gluten-free panko and gluten-free flour, and check that your mayonnaise or yogurt is certified. You can replace the Italian herbs with Cajun seasoning, curry powder, or even ranch seasoning mix for a different flavor profile. Adding grated Parmesan to the panko gives a salty, nutty layer that browns beautifully.
- Try swapping chicken for turkey breast or even firm tofu slices if you want to experiment with texture.
- Use cornflakes instead of panko for an even crunchier coating with a slightly sweeter taste.
- Brush the strips with melted butter instead of olive oil for a richer, more indulgent crust.
 Pin It
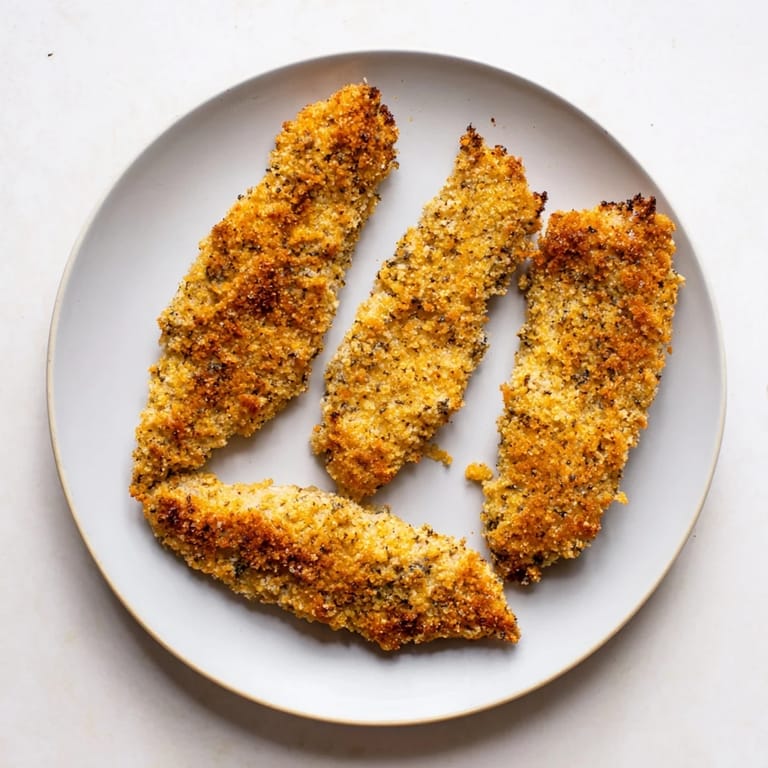
 This recipe has become one of those quiet weeknight anchors that you return to without thinking. It works, it satisfies, and it leaves your kitchen smelling like a place people want to gather.
Recipe Questions & Answers
- → How do I prevent the panko coating from burning while keeping it crispy?
Use a wire rack or parchment paper on your baking sheet and drizzle lightly with olive oil rather than soaking the chicken. Bake at 220°C and flip halfway through cooking around the 10-minute mark. Monitor closely during the final 5 minutes, as panko can brown quickly.
- → Can I prepare the chicken strips ahead of time?
Yes, you can bread the chicken strips up to 4 hours in advance and refrigerate them on a baking sheet. This actually helps the coating adhere better. Bake directly from the refrigerator, adding 2-3 minutes to the cooking time.
- → What's the best way to ensure the chicken stays juicy inside?
Pat the chicken dry before cutting to remove excess moisture. Cut strips to uniform thickness so they cook evenly. Avoid overcooking by checking the internal temperature reaches exactly 74°C. Let them rest 2-3 minutes before serving to retain juices.
- → How can I make this dish dairy-free?
Substitute mayonnaise with Greek yogurt or dairy-free mayo in the egg mixture. Use a dairy-free mayonnaise brand if preferred. Check all ingredient labels including panko breadcrumbs and seasonings. Skip Parmesan additions unless using dairy-free alternatives.
- → What dipping sauces pair best with these chicken strips?
Classic options include honey mustard, creamy ranch, and spicy sriracha mayo. Consider pairing with lemon aioli, garlic yogurt sauce, or buffalo sauce for variety. Serve multiple sauces to accommodate different taste preferences at the table.
- → Can this preparation work for other proteins?
Absolutely. The same breading technique works wonderfully with pork tenderloins, turkey breasts, or firm white fish fillets. Adjust cooking times based on thickness and protein type, ensuring internal temperatures reach food safety guidelines.